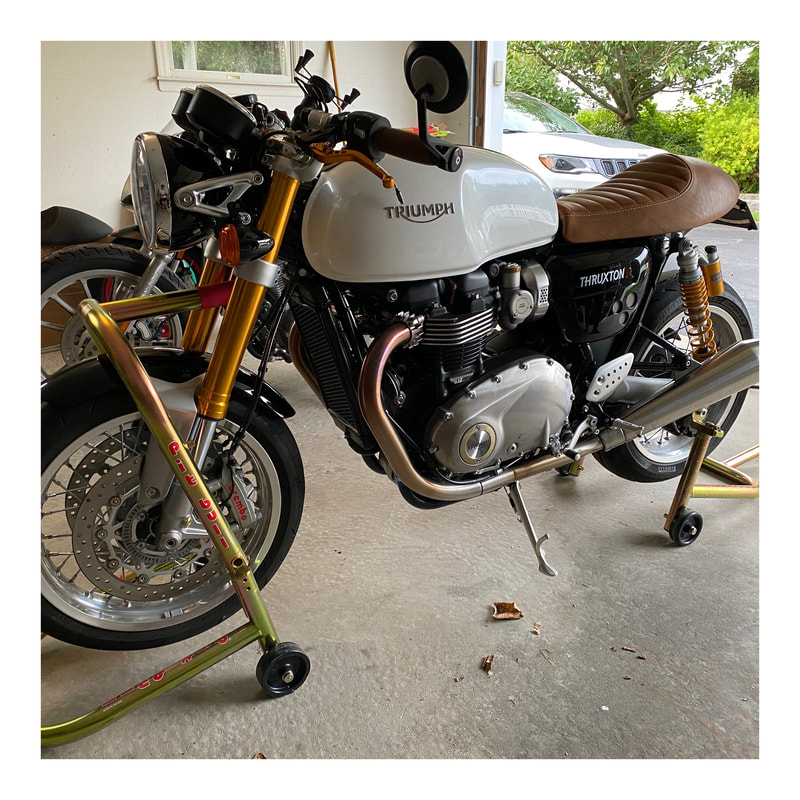
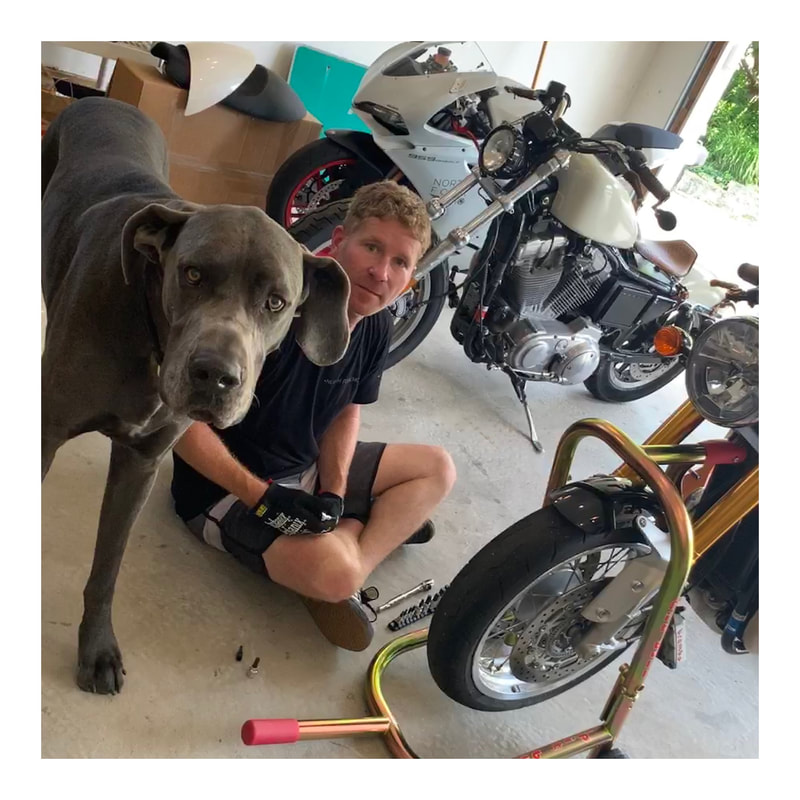
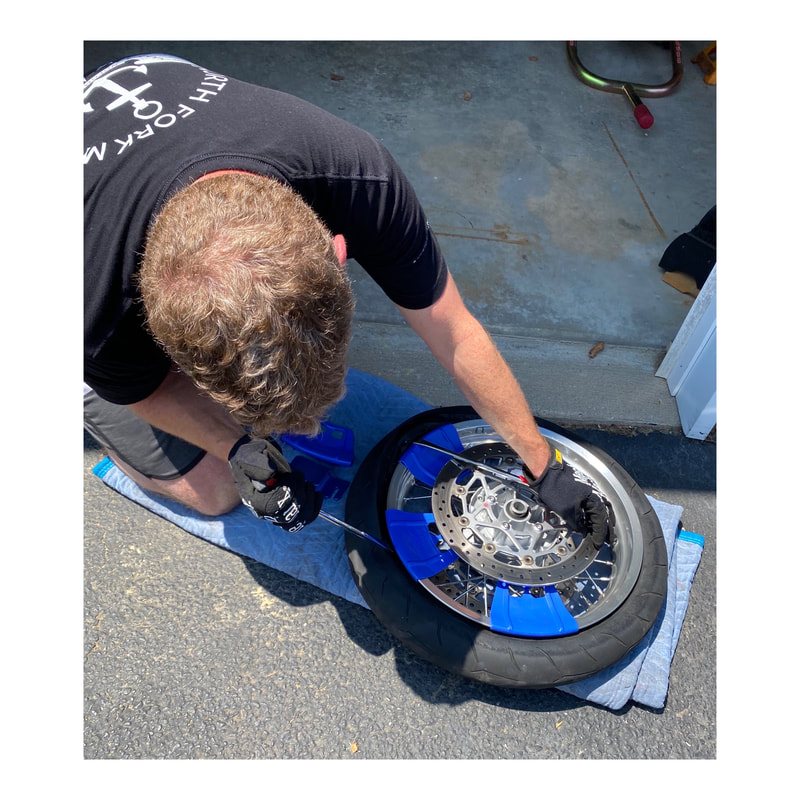
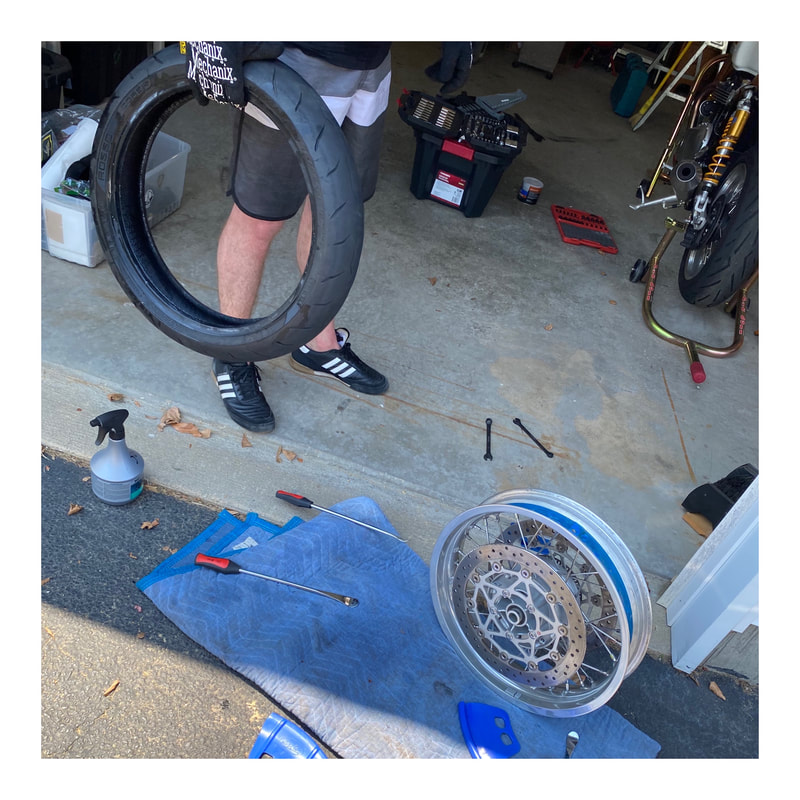
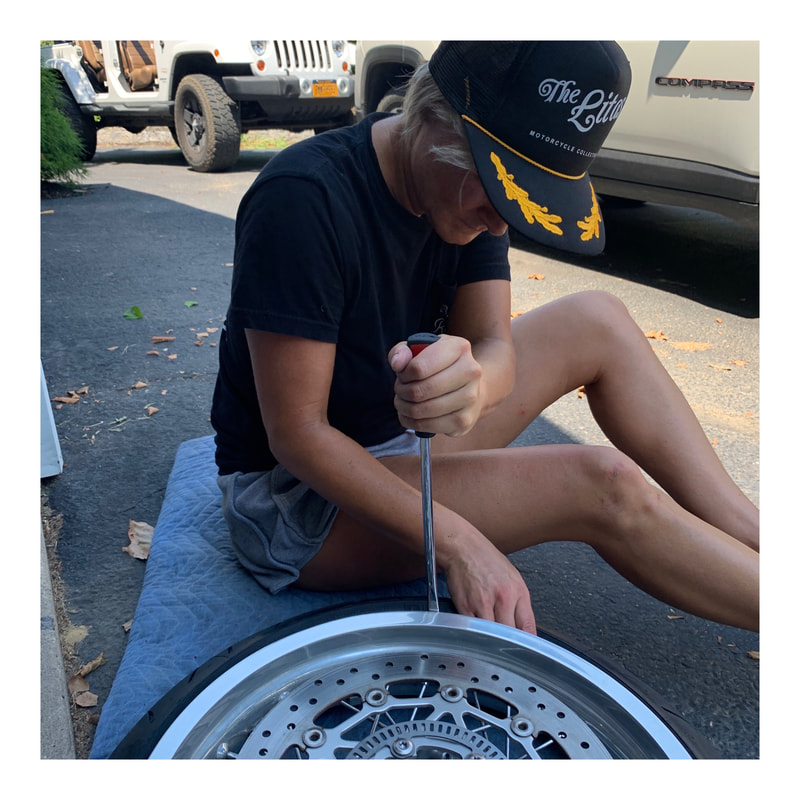
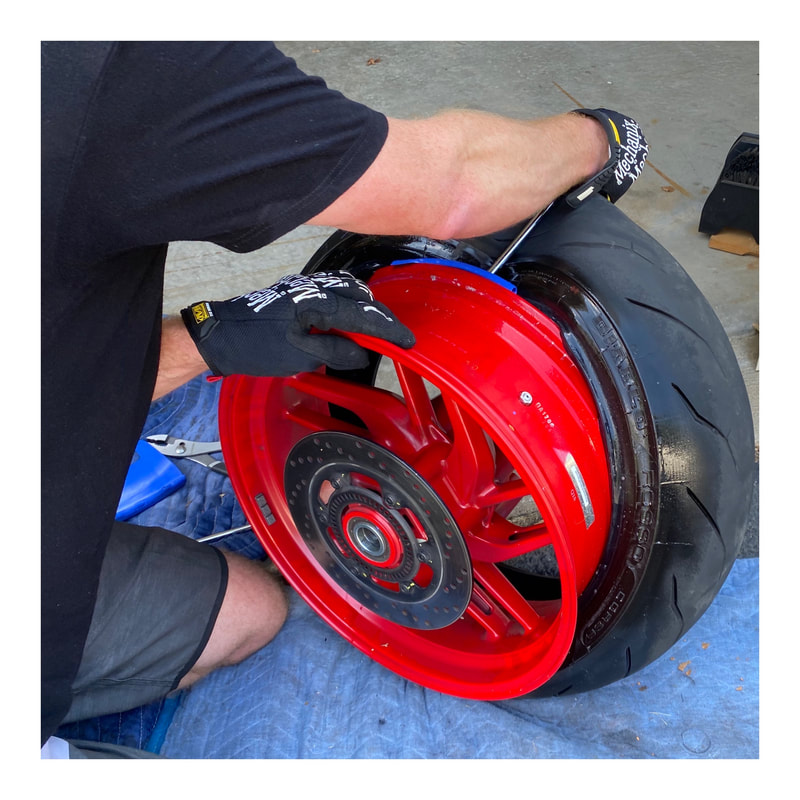
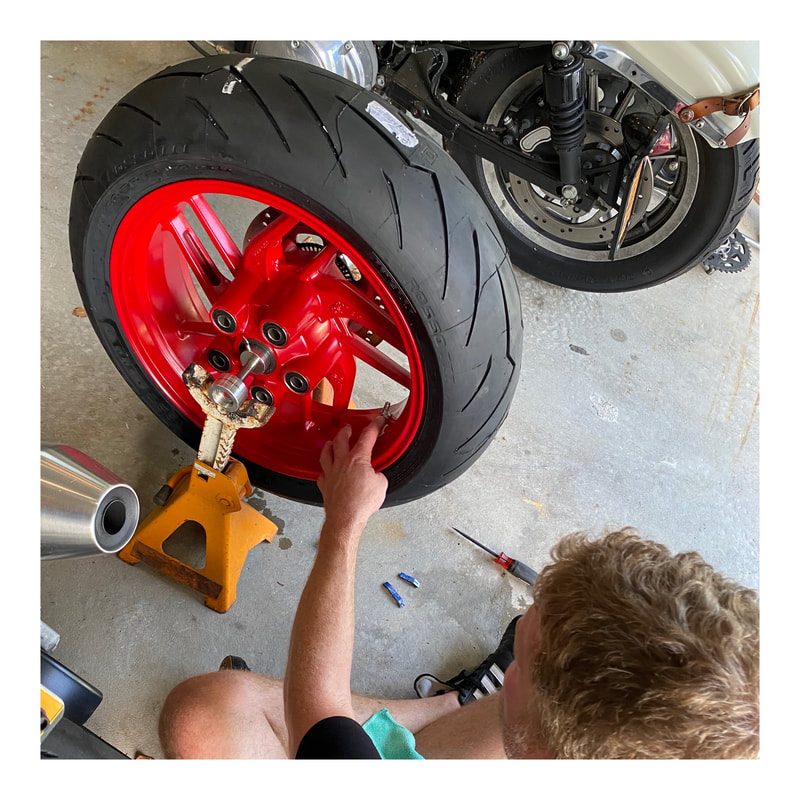
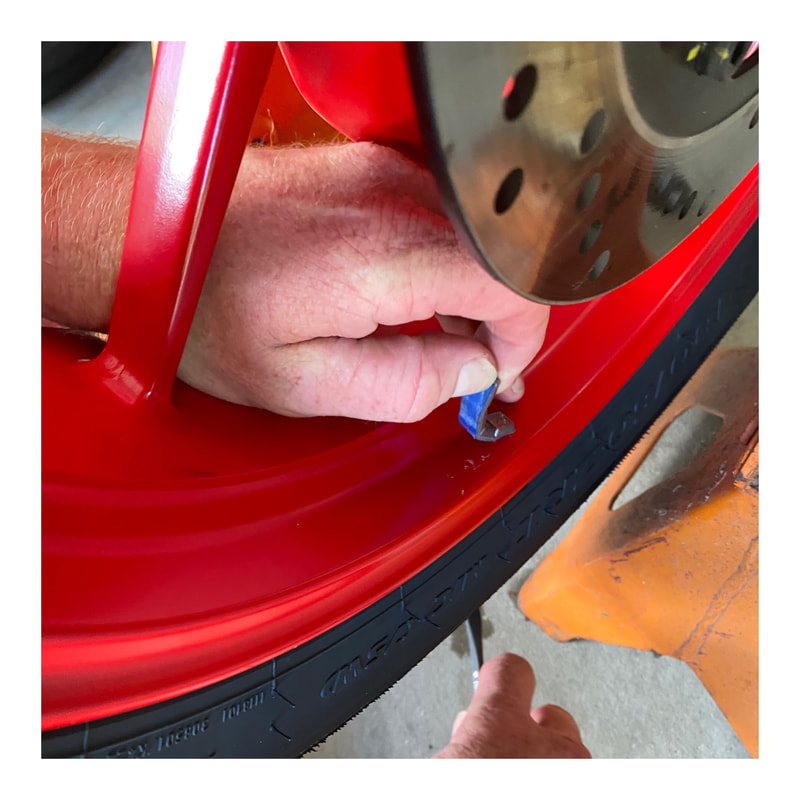
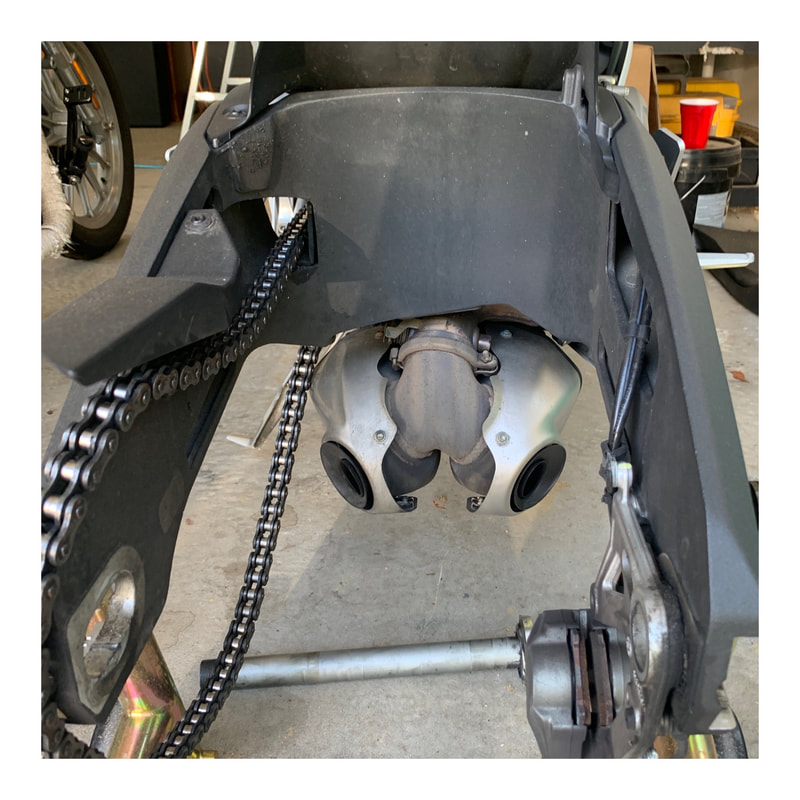
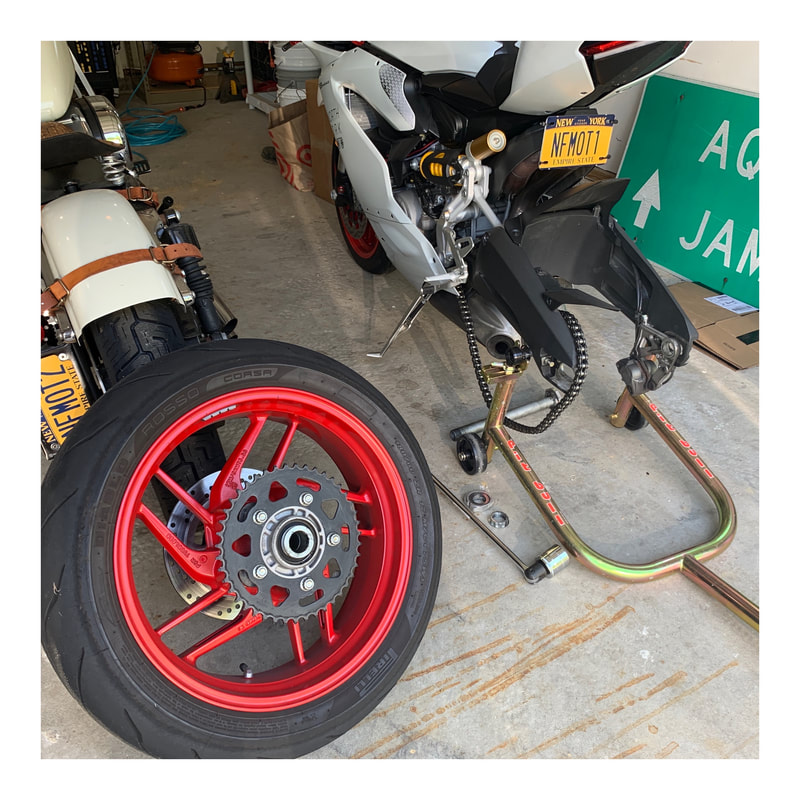
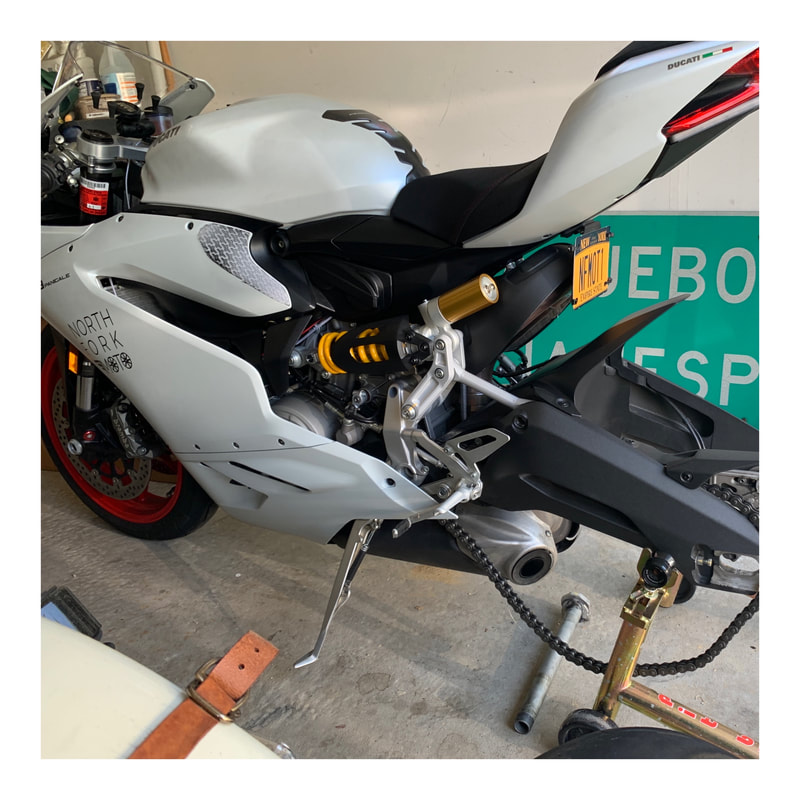
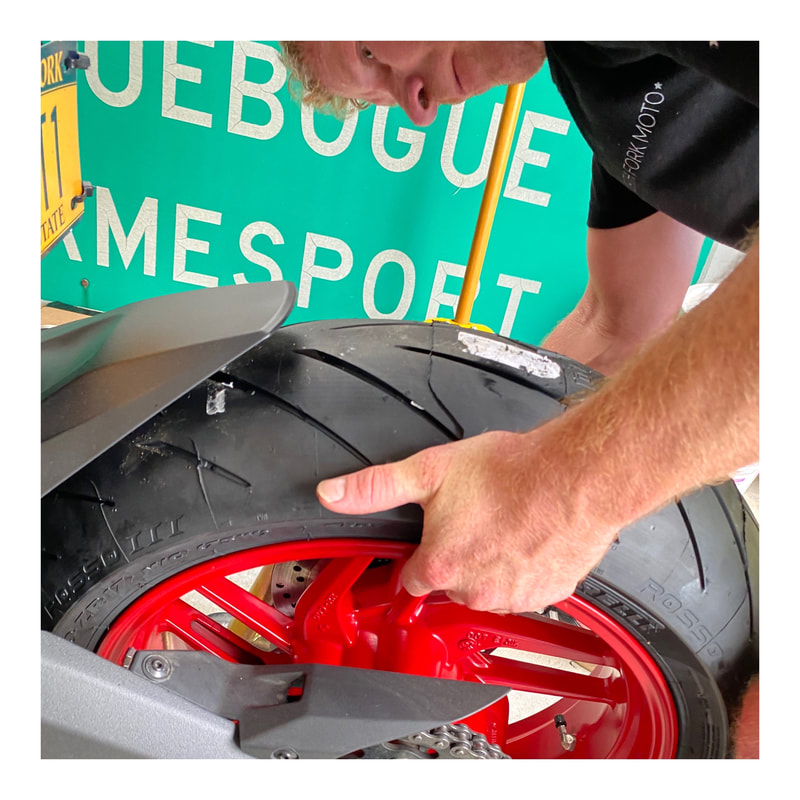
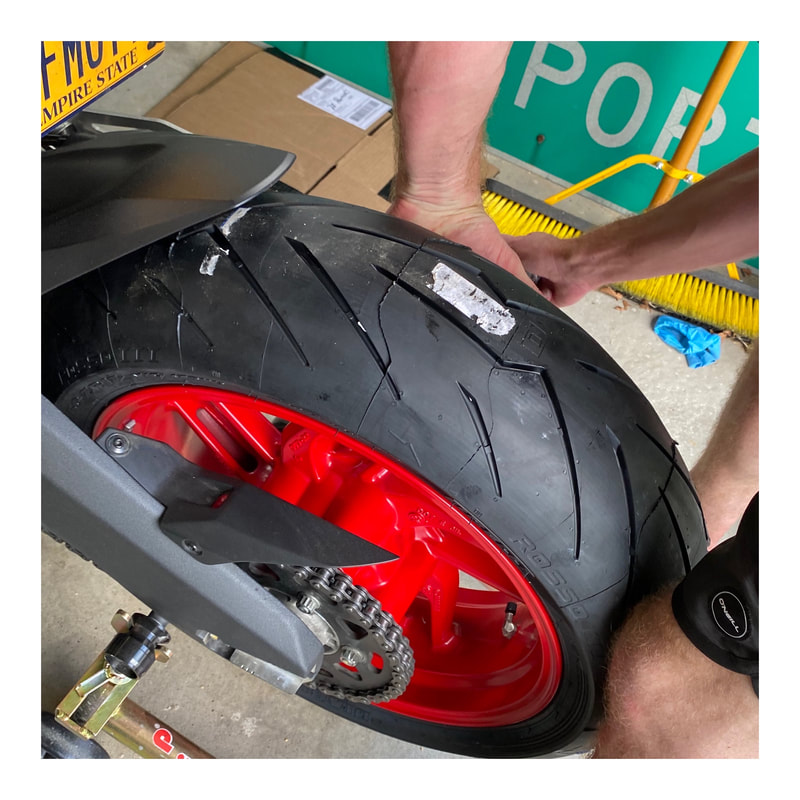
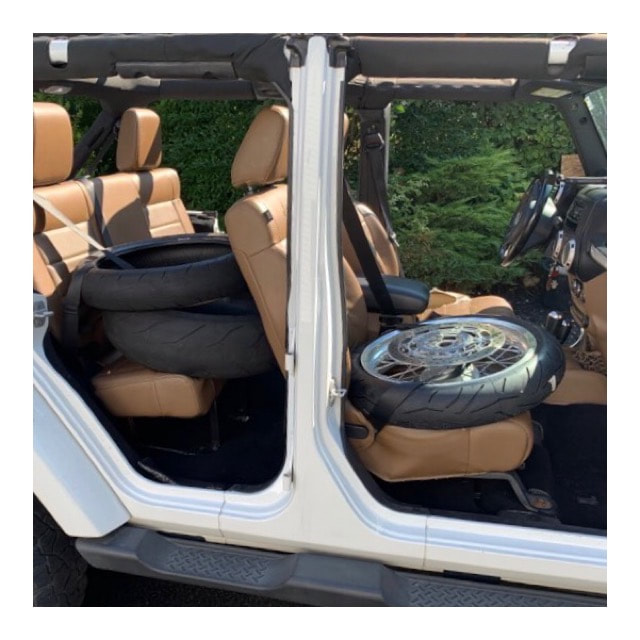
 BAfter thousands of miles of twisties the past couple of months, our tires were shot! It was time for four new tires. Both bikes run fairly sticky Pirelli Diablo Corsa Rosso’s. At $150 for a front and close to $200 for a rear just for the tires and then $125/hour shop rate, this adds up quickly. Our local shop is great, and they get us in super-fast on very little notice, but I couldn’t ignore the chance to do something myself and save a little money at the same time. My thoughts were - if I spend the money on tools rather than what I’d normally pay for labor, I can brake even after replacing tires on just one bike. So off to my favorite online MC retailer I go! I bought a set of Motion Pro Bead Breaker FS tire spoons, two sets of rim protectors, a generic set of long handle tire spoons, some wheel weights, a valve core removal tool and a gravity tire balancer from Marc Parnes. Don’t waste money on a Harbor Freight option here. Marc’s product is far superior and simple. http://www.marcparnes.com/ This guy machines these things very precisely and has the oldest website you’ve ever seen (think 1997) BUT he actually keeps this thing up to date. Anyway…. my set up is simple as is the process.  First up was the Thruxton R. We both have the same size front tires however Megan’s bike has cool retro laced wheels. That means innertubes! Ugh!!!! First thing to do is get the bike up on the rear and front stands. It should be noted that you can’t use a front stand without a rear stand. It’s just not stable enough. Her front tire was first in line, so off it came. Throughout this process you may find it helpful to take pics of how things were assembled so you can reassemble in the proper manor. Here’s a good “how to” video… https://www.youtube.com/watch?v=dAKIuSjPXxA&t=503s The font tire came off easily and the new rubber went on without issue. Getting the innertube on the rim and tucked into the tire was a bit difficult though. Once this was done it was just a matter of setting the beads on the rim. I’ve done this many times and am always startled by the pop! All of this is better facilitated if you have a super-hot helper to assist, by the way. So, just inflate with an air compressor and we should be all done!!! As fate had other plans, the bead would not seat, and the wheel would not hold air. Soapy bubbles were coming out of the spoke nipples. This could only mean one thing. I pinched the innertube! FUCKKKKKKK!!!!!!!!!! This was somewhat of a setback, but no big deal. My local shop has innertubes in stock. So on to the next wheel! Next on to the Panigale rear tire. This is a standard tubeless tire set up and was not an issue. Put the bike up on the rear stand, remove the rear axle with a HUGE 36mm 12-point socket (this was torqued down WAY tight and took a long breaker bar to remove), remove the axle and chain tensioners, push the rear wheel forward, remove the chain and then remove the rear wheel. Then set about the same process as the Thruxton’s front. Take the old tire off and put the new one on. My old rear tire had seen better days. Not only was it well worn, but I had picked up a screw months ago and forgot that I had plugged it. The center of the tire was very worn, though not all the way to the belts. Upon closer examination, the tire plug was holding up very strong. It’s better to not get a puncture, but if you do, a plug can get you by. After the tire was on, I inserted the valve core and added some air pressure to the tire seating the bead against the rim. This went without issue so on to the balancer. I pulled the existing wheel weights off and set up the wheel in the precision machined gravity balancer. After a few minutes and some patience, the wheel was all balanced and ready to be cleaned! I gave it a good wash and then cleaned up the rear end of the bike before greasing the axle with fresh grease and reassembling in the reverse order. I ended up taking the Thruxton’s front wheel to my local shop to have them replace the innertube and seat the beads on the new tire. $30 and zero sweat later, it was all ready to balance and mount up. I could have just bought a new tube and reinstalled it, but it was the hottest day of the year 98 degrees with zero breeze! Was it worth it? Absolutely. Time spent working on your bike or any bike in my opinion, is time well spent. You get to know how things are put together, understand the mechanics and know that it’s done THE RIGHT WAY. This is huge. These are not cars. If there’s a very small mistake, it’s curtains for you. Tighten bolts to the proper torque spec, inflate tires to the proper pressure, clean things up and properly lube spots that need lube. I have service manuals for both the Ducati and the Truxton. And YOU should get one for YOUR bike. They can easily be stolen, I mean downloaded, on the internet. They provide all the important details for this stuff. You’d be surprised at what is NOT done the right way from a lot of shops. I’ve seen tire pressures ALL wrong, suspension settings that were not even close to what they should be for delivery of a bike, not to mention close to what they should be for my individual needs as well as a host of other things not set up properly. I’m not dogging anyone’s work at all, just saying that if you can, you should do it yourself, so YOU know it’s correct. Getting to know your bike is fun and makes you appreciate it a lot more. Even if you just hang out and watch someone else do work on your bike and ask questions. You’ll learn something and get to see what involved with all that goes into these machines.
0 Comments
Leave a Reply. |

